I have a small homelab at home: a refurbished Lenovo ThinkCentre M710q. Small, compact, gets the job done.
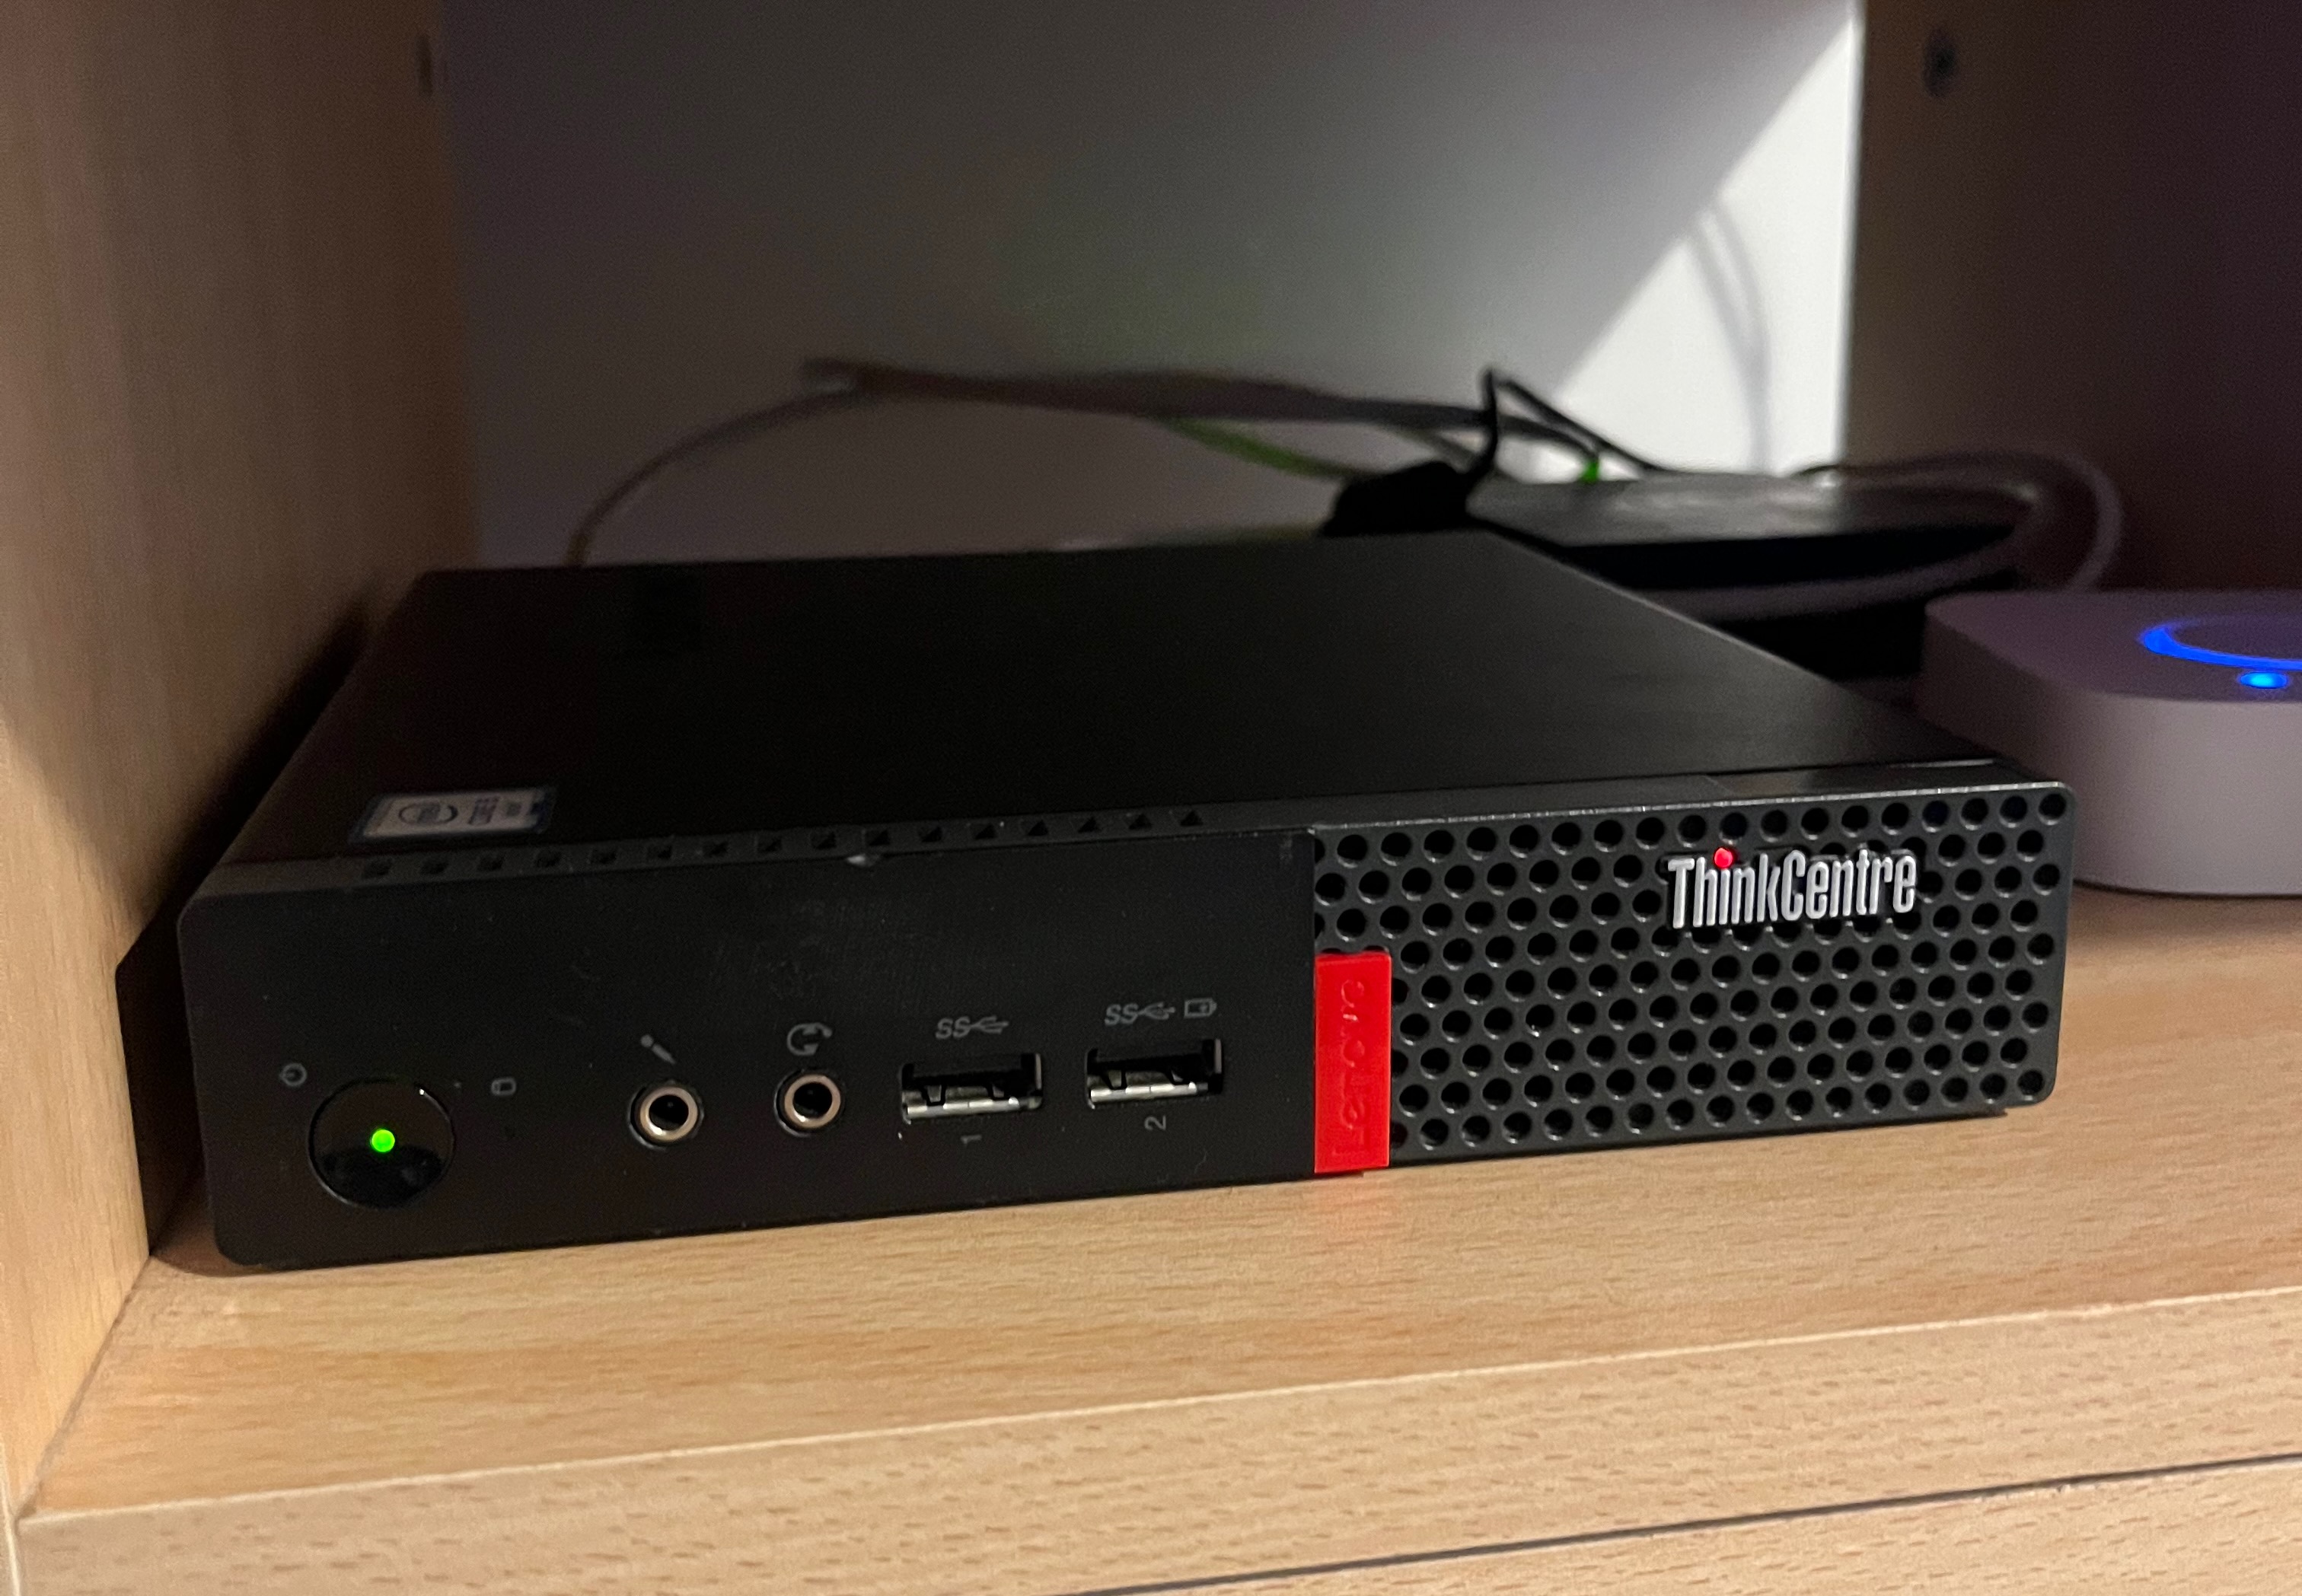
Lenovo ThinkCentre M710q running
I run Proxmox Virtual Environment, a software on top of Debian allowing me to create virtual machines to isolate software I want to run or to do experiments.
Sometimes when I am outside of my home, I want to remotely access my PVE host (for basic maintenance). With Wireguard this is possible: create a tunnel between the PVE machine and whatever entrypoint I control.
This post will only cover the tunnel creation on the PVE itself, not on the other peer.
This is was tested on PVE 9.2.5.
Install
Once you are logged in on the PVE web interface, select the node you want to configure, and open a shell. You are ready to start.
You will only need a text editor, by default you only have nano I think. Feel free to install neovim, emacs, helix, whatever suits you!
Finally, you will need to install wireguard, simply run:
apt install wireguard
The installation part is complete, let's go onto the configuration of the peer.
Configuration
Prepare configuration
All the configuration will live inside a single file located at /etc/wireguard. The file will be named after the network interface wireguard will use: wg0. Let's create the config file and restrict it only to the root user:
cd /etc/wireguard
touch wg0.conf
chmod 600 wg0.conf
Private key generation
Every wireguard peer requires a private key. Generate one and put it inside the config file:
wg genkey >> wg0.conf
Edit the config file to add this snippet at the top:
[Interface]
PrivateKey = pppp
Remove the pppp placeholder and put the private key.
IP address
Define a common IP address to use, it must be the same on the configuration of the other side of the tunnel.
This line needs to be in the [Interface] section.
Address = 10.0.0.2/32
Information of the peer at the end of the tunnel
We need to tell wireguard where to send the encrypted network packets. At the end of the config file, place:
[Peer]
PublicKey = zzzz
PresharedKey = wwww
AllowedIPs = 10.0.0.1/32
Endpoint = xxxx:yyyy
PersistentKeepalive = 25
The IP inside the AllowedIPs is the IP used by wireguard on the other peer.
Get the public key of the other peer (and place it instead of the zzzz placeholder).
Fill in the Endpoint: the public IP xxxx and the port yyyy used for wireguard.
Preshared key
Generate a preshared key:
wg genpsk >> wg0.conf
Edit the config file and put the key in the correct place (place it instead of the wwww placeholder).
Recap
The /etc/wireguard/wg0.conf file should look like this:
[Interface]
PrivateKey = pppp
Address = 10.0.0.2/32

[Peer]
PublicKey = zzzz
PresharedKey = wwww
AllowedIPs = 10.0.0.1/32
Endpoint = xxxx:yyyy
PersistentKeepalive = 25
Prepare the other peer
The configuration is done on the PVE host, now it's time to create the configuration for the other peer. I will not cover that here.
You will need to get the wireguard public key of the PVE host:
awk '/PrivateKey/ {print $NF}' wg0.conf | wg pubkey
The preshared key is also required (it must be the same on both peers):
awk '/PresharedKey/ {print $NF}' wg0.conf
Create the wireguard config on the other peer, once done the wg command should show the IP address of the new peer.
Start
Back on the PVE host, to check the current state of the wireguard interface run (it currently should be disabled because it is not started yet)
systemctl status wg-quick@wg0.service
Start it with
systemctl start wg-quick@wg0.service
and run wg to see if there is traffic.
To make sure everything works, try to ping the peer from the PVE host and vice versa.
If you are happy with the result, start the wireguard tunnel when the PVE host boots:
systemctl enable wg-quick@wg0.service